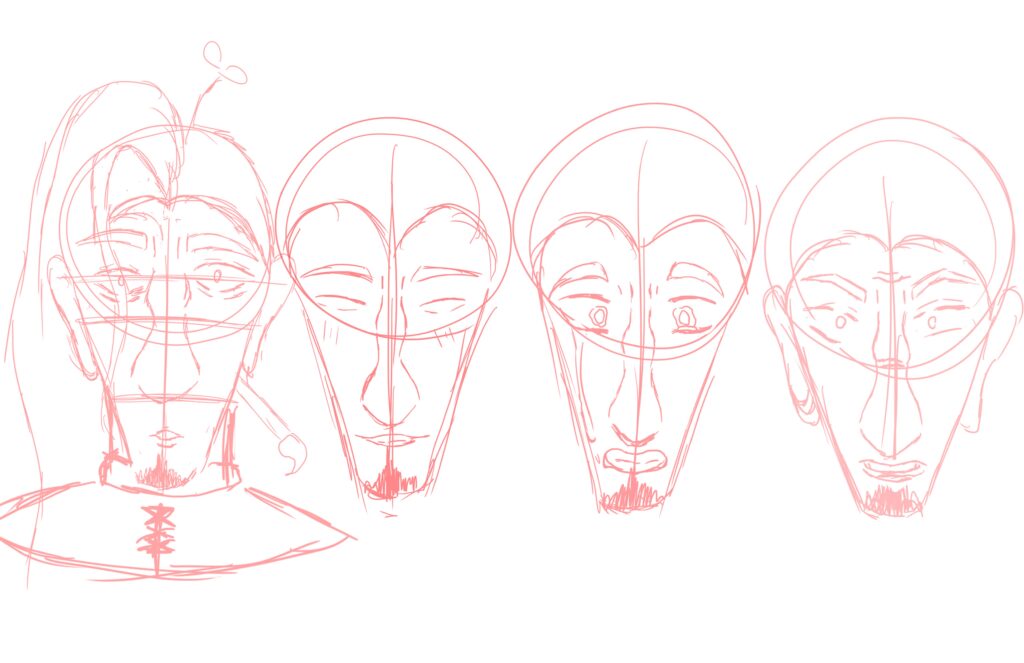
Skip to content

Character Turnaround - Noah Thach

Welcome to my Character Turnaround! Meet Noah Thach, a young trans man in his early twenties. For this Turnaround I was Presented with a prompt; “A wacky human who’s average height and skinny, with medium, wavy purple hair, hazel eyes, a pale skin tone, and a crooked nose. They love painting. They want to write a book but are afraid of flying.” 

Aside from the given information, I was given complete creative freedom. Come along with me to see how i went about designing my character!

What Is A Turnaround?

Before I show you how I made my character turnaround, you need to know what a turnaround is

A Character Turnaround is a series of poses that shows a character from several angles, usually four or more. they are laid out in an order that shows them “turning around” to provide a reference for art pieces featuring that character in the future. 

Step One: Brainstorming

the difference here is hilarious – these are the sketches of Noah before I knew who he really was.

Expressions! after getting his design down, I needed ideas for how his face moved while emoting.

Finally the Reference Board. this holds vital information – including all of his expressions, his turnaround, and his story – in a uniform format that allows for easy understanding.

My first step in the creative process was brainstorming ideas. character shape, emotion, and format are all incredibly important, so i took time deciding what best achieved the feel i was going for. I searched the internet for references, considered past projects to see what aspects of my art would be best for Noah, and then just let loose with sketching until i got an idea that i both enjoyed and that fit the prompt properly.

Step Two: Lineart

Next was lineart. like creating my own coloring book! this step is pretty straightforward; take the ideas gathered from brainstorming, refine them, fix what doesn’t seem quite right for the piece, and create! this process takes a little longer typically as it needs to be more detail oriented than the base sketch.
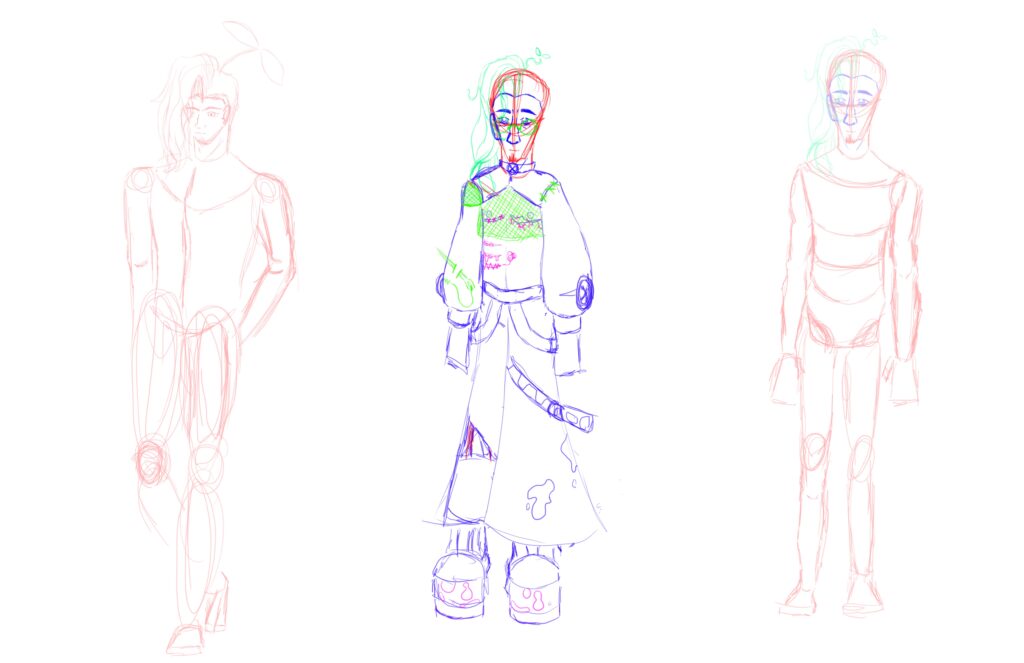
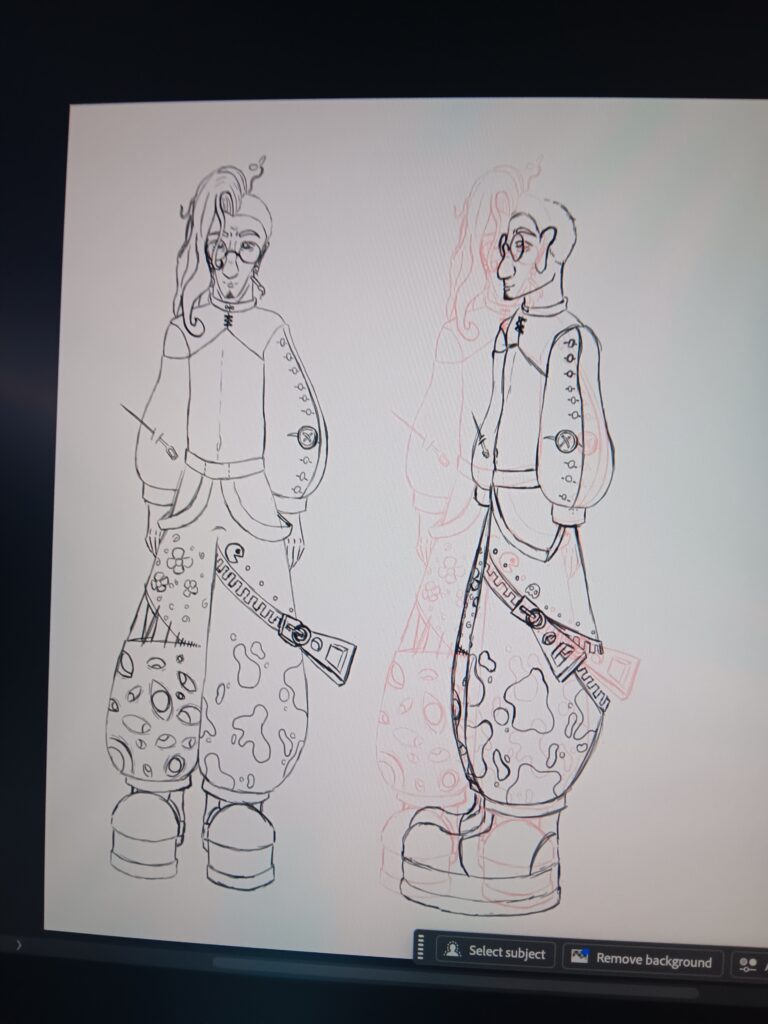
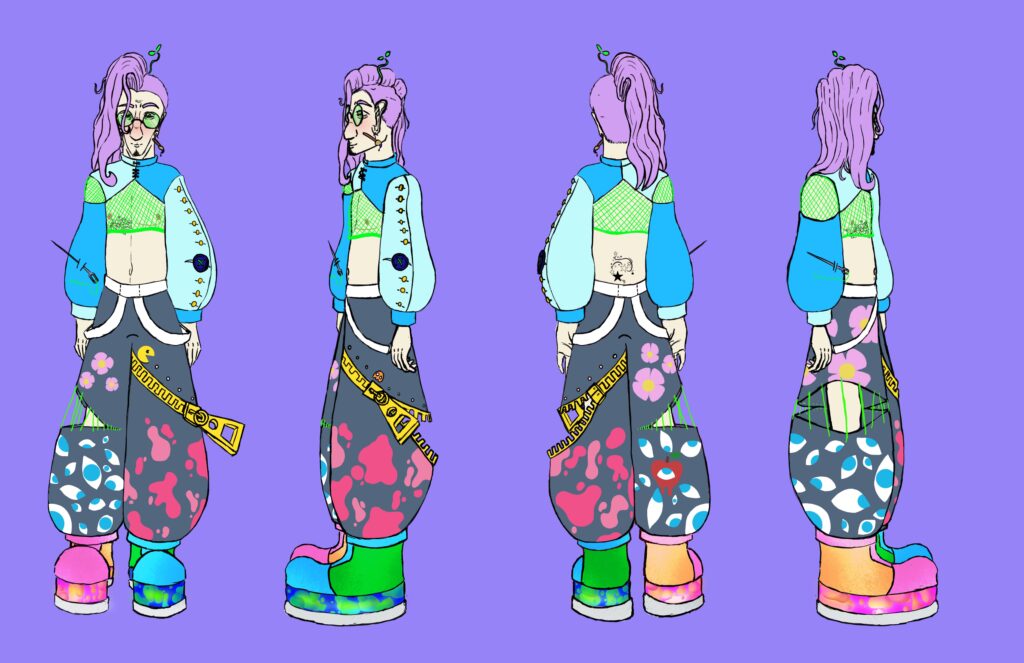
to aid me in making my turnaround proportionate the whole way around, I made a copy of my front facing body and sketched my side profile along the side (see image above). this helped me to line the hair, facial features, and other accessories up properly. the back and right facing poses were also easy – I copied the front and left facing over, flipped them, and then made the necessary edits to the patterns, direction of the hair, etc.

WIP (Work In Progress) of Noah’s turnaround poses

Step Three: Color

Fully colored turnaround

Fully colored range of expression

After the lineart was finished and I was positively proud of the design, it was time to color. I tried different combinations until I came up with one that felt uniform yet still popped in just the right way. The lineart was only temporary for certain elements, the patterns didn’t really need it and only had it as a guideline for where to place my color. Once it was down I removed it. The decorations on his chest and back as well as his fishnet top also didn’t need lineart as it would have swallowed the color. 

Once color was down, I was in the home stretch. Only two more steps!

Step Four: Reference Board

Finished reference board – all expressions, poses, and a short information blurb combined in formatted way that’s pleasant to the eye

Now that all of my elements were built – poses proportionate, expressions ranged, story written – it was time to put all the pieces together in a clean and fashionable way. A reference board! I love these things. They’re almost always stylized to be unique to the character while still holding onto the integral simplicity of simply sharing details. They hold all key information in one place, making it easy to replicate in the future. they can be more or less info heavy than this, it just depends on the preferences of the creator or client. You might notice this design is drastically different compared to my initial sketch during the brainstorming phase. That’s because I realized the amount of excess detail I was originally reaching towards would distract from the main Characteristic here – Noah himself.

Step Five: GIF

This was another goal set up in the prompt – turn your turnaround poses into a rotating GIF (Gif, not Jif you freaks) to showcase that details are consistent. I made the GIF through Photoshop’s video timeline feature. This was relatively easy (she says, knowing she’s lying), It just took some time to understand how to export the whole GIF and not an individual frame.

Bonus Step: BRAGGING RIGHTSSSSSSSSS

It was time to celebrate, I was finished! Details were cleaned up, pieces were fitting into the final puzzle, all goals made by myself and the prompt had been reached – I had done it. I’m proud of how Noah turned out, and I will absolutely be adding him to my repertoire of beloved characters.