These 3D assets were made for a historical game in a castle setting. The style I had in mind was low-poly PS1 era graphics, with mild themes of horror for an unsettling feel. The models were made using Autodesk Maya, and the final renders were edited using Photoshop.
The first task was to decide what I wanted to model in the first place. the prompt was pretty open-ended, only asking for three assets that would fit in a historical setting. I decided on a piece of jewelry, a statue, and scroll. These items seemed pretty universal, so they’d fit in well with the theme, but also specific enough that they’d be useful for the game itself. The jewelry and scroll in particular were made to be items that’d be picked up by a player.
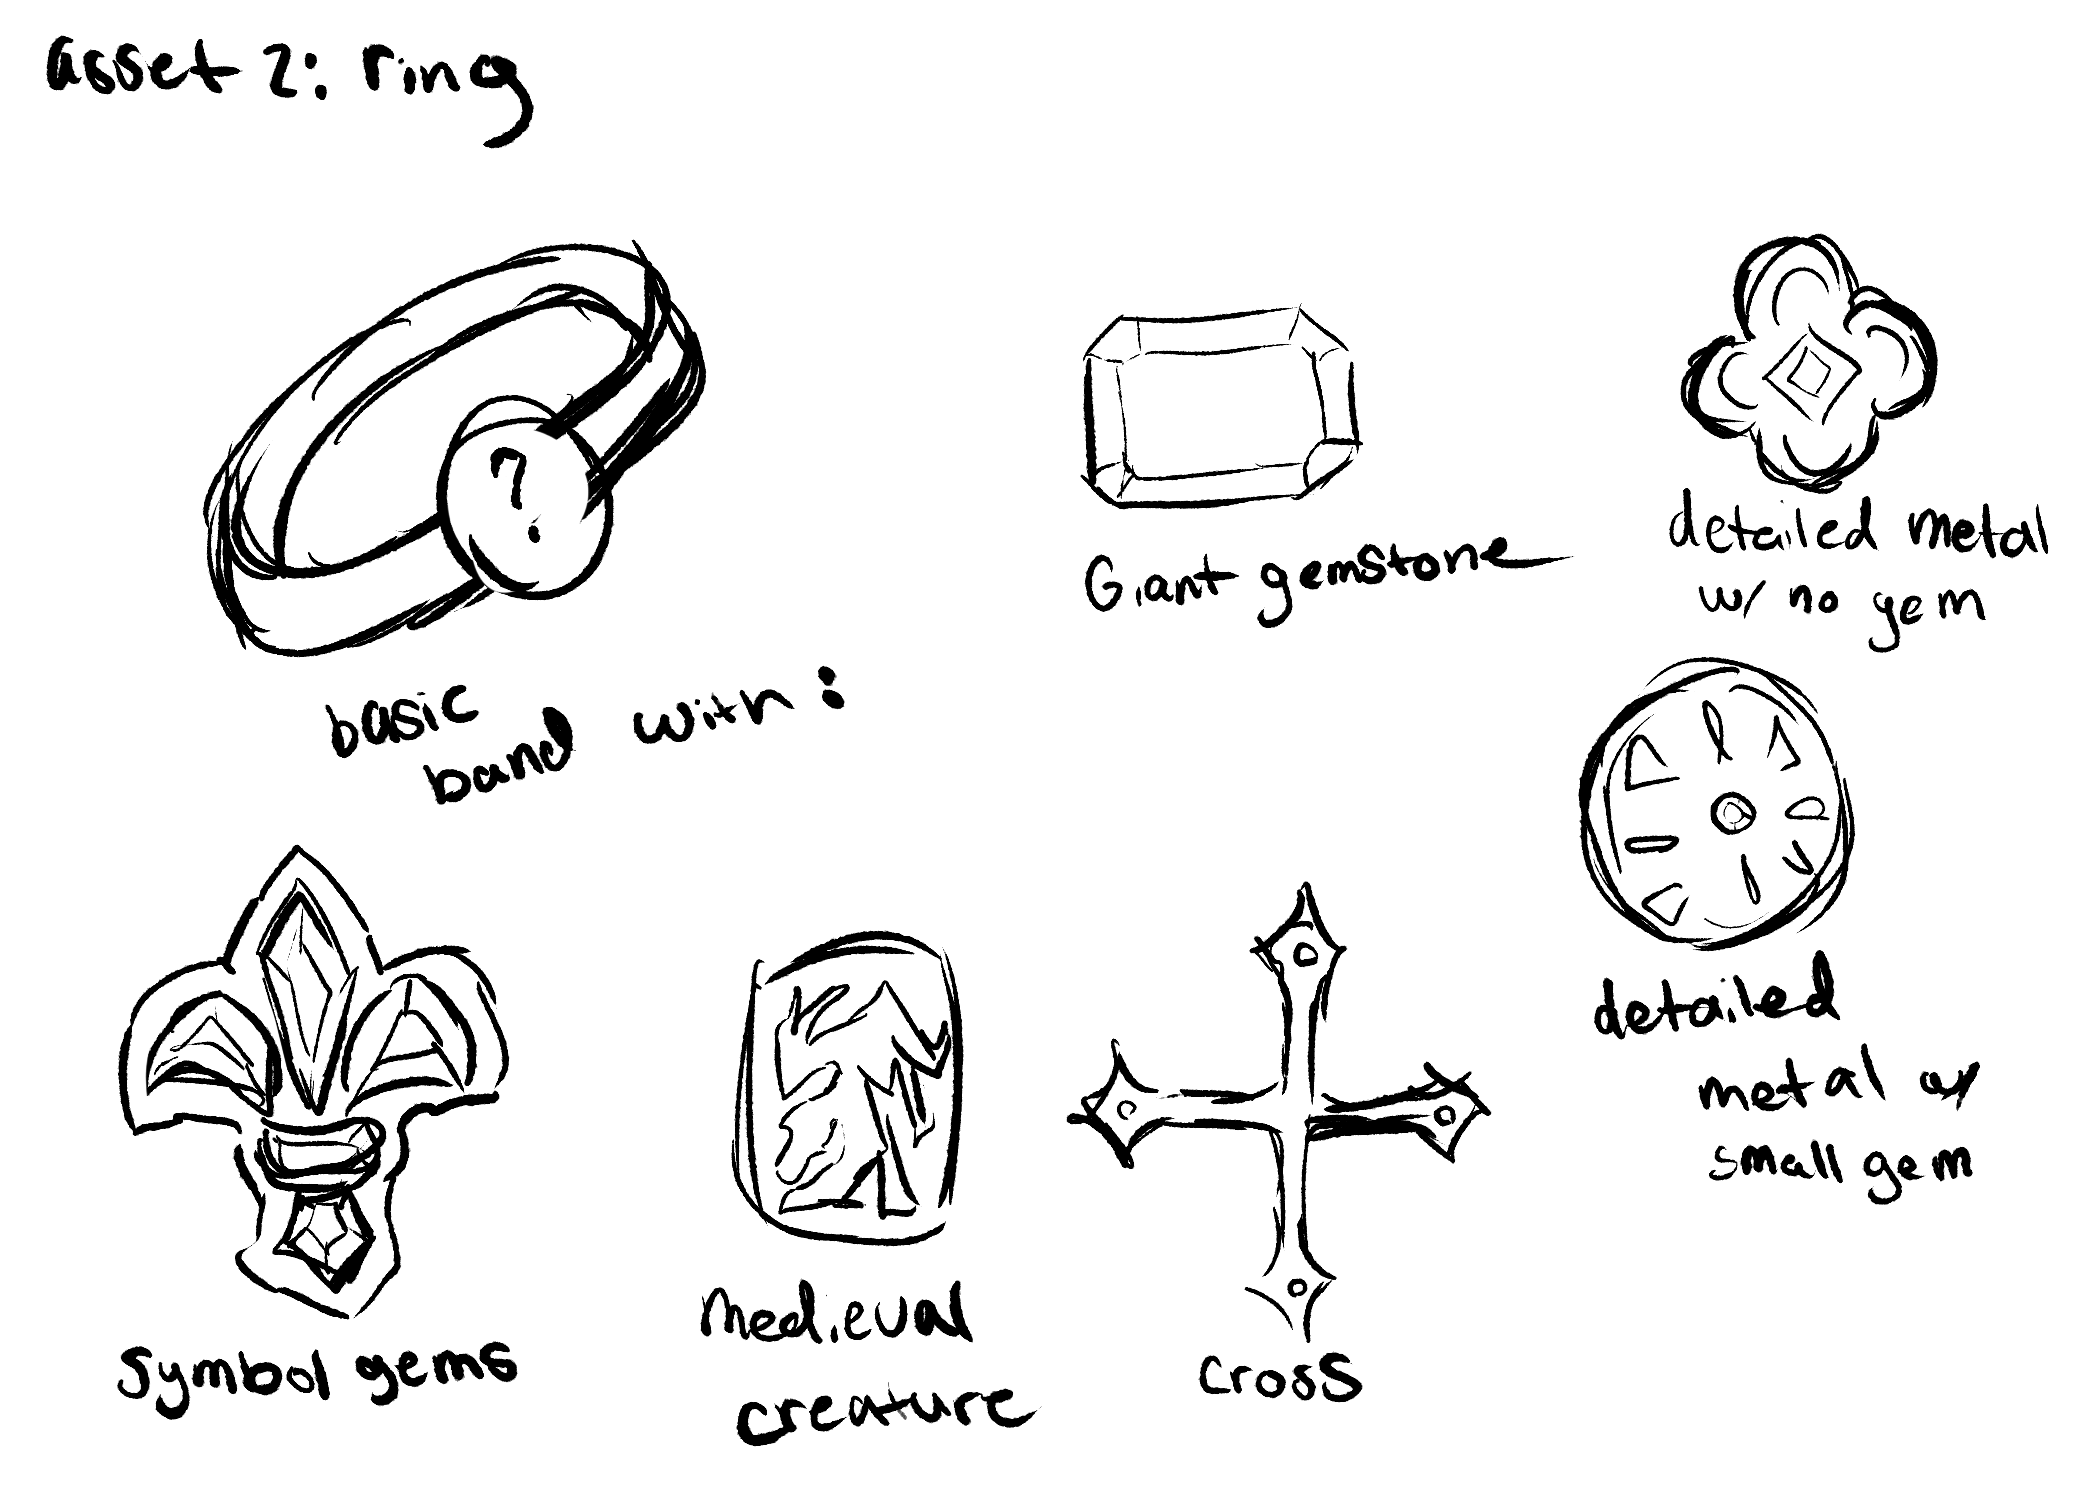
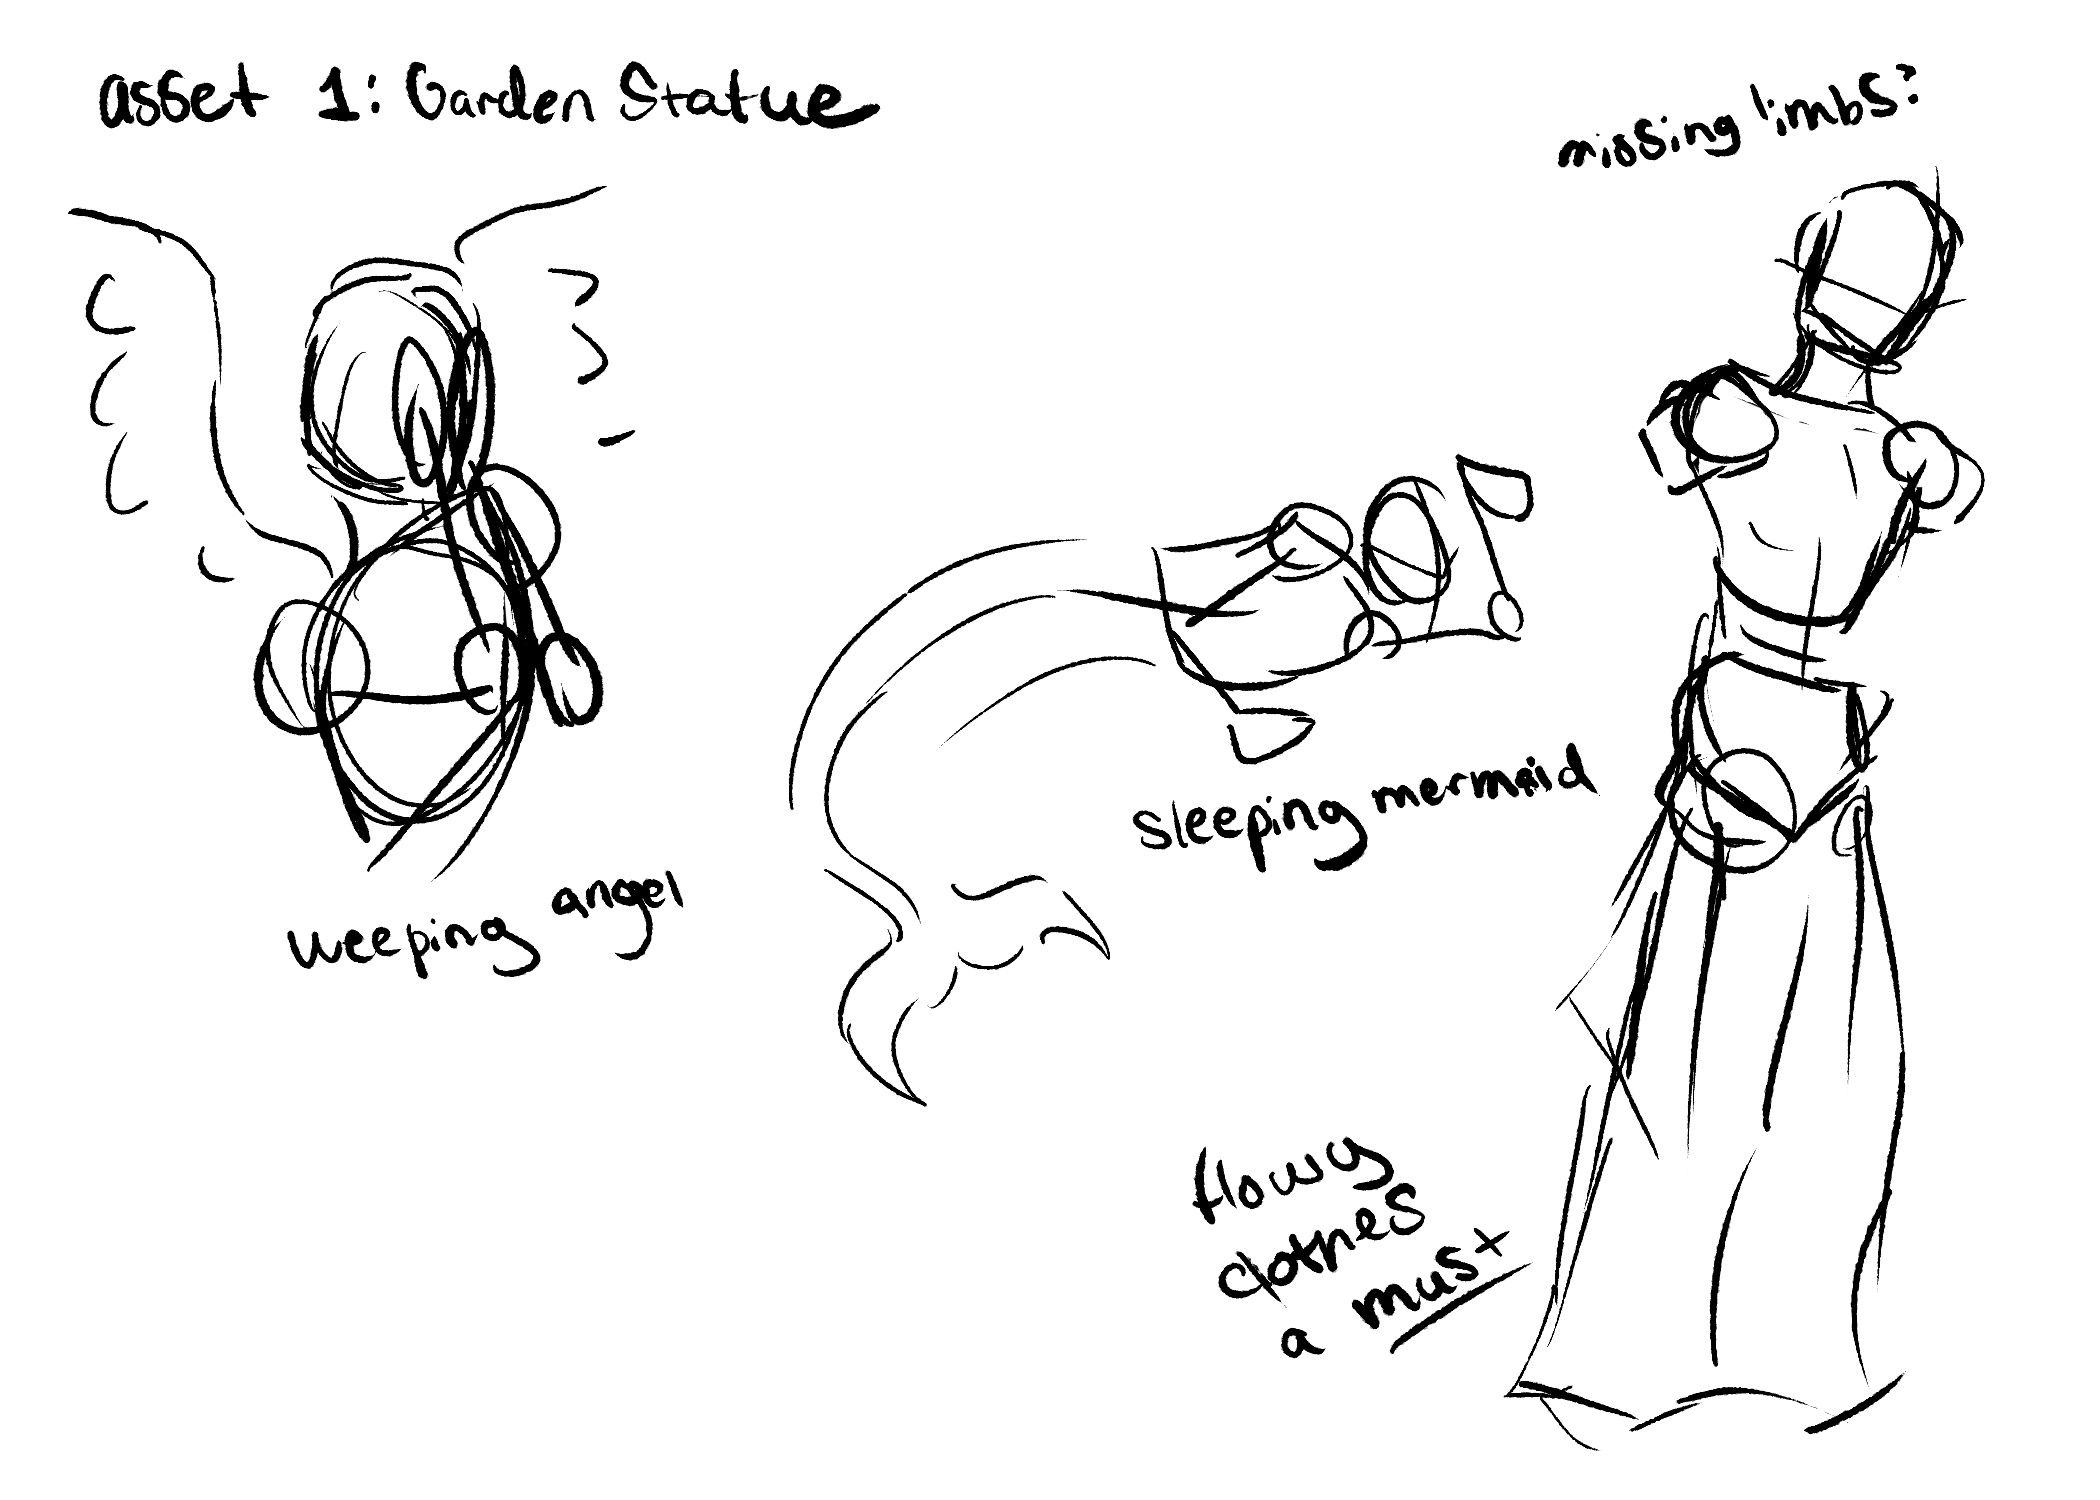
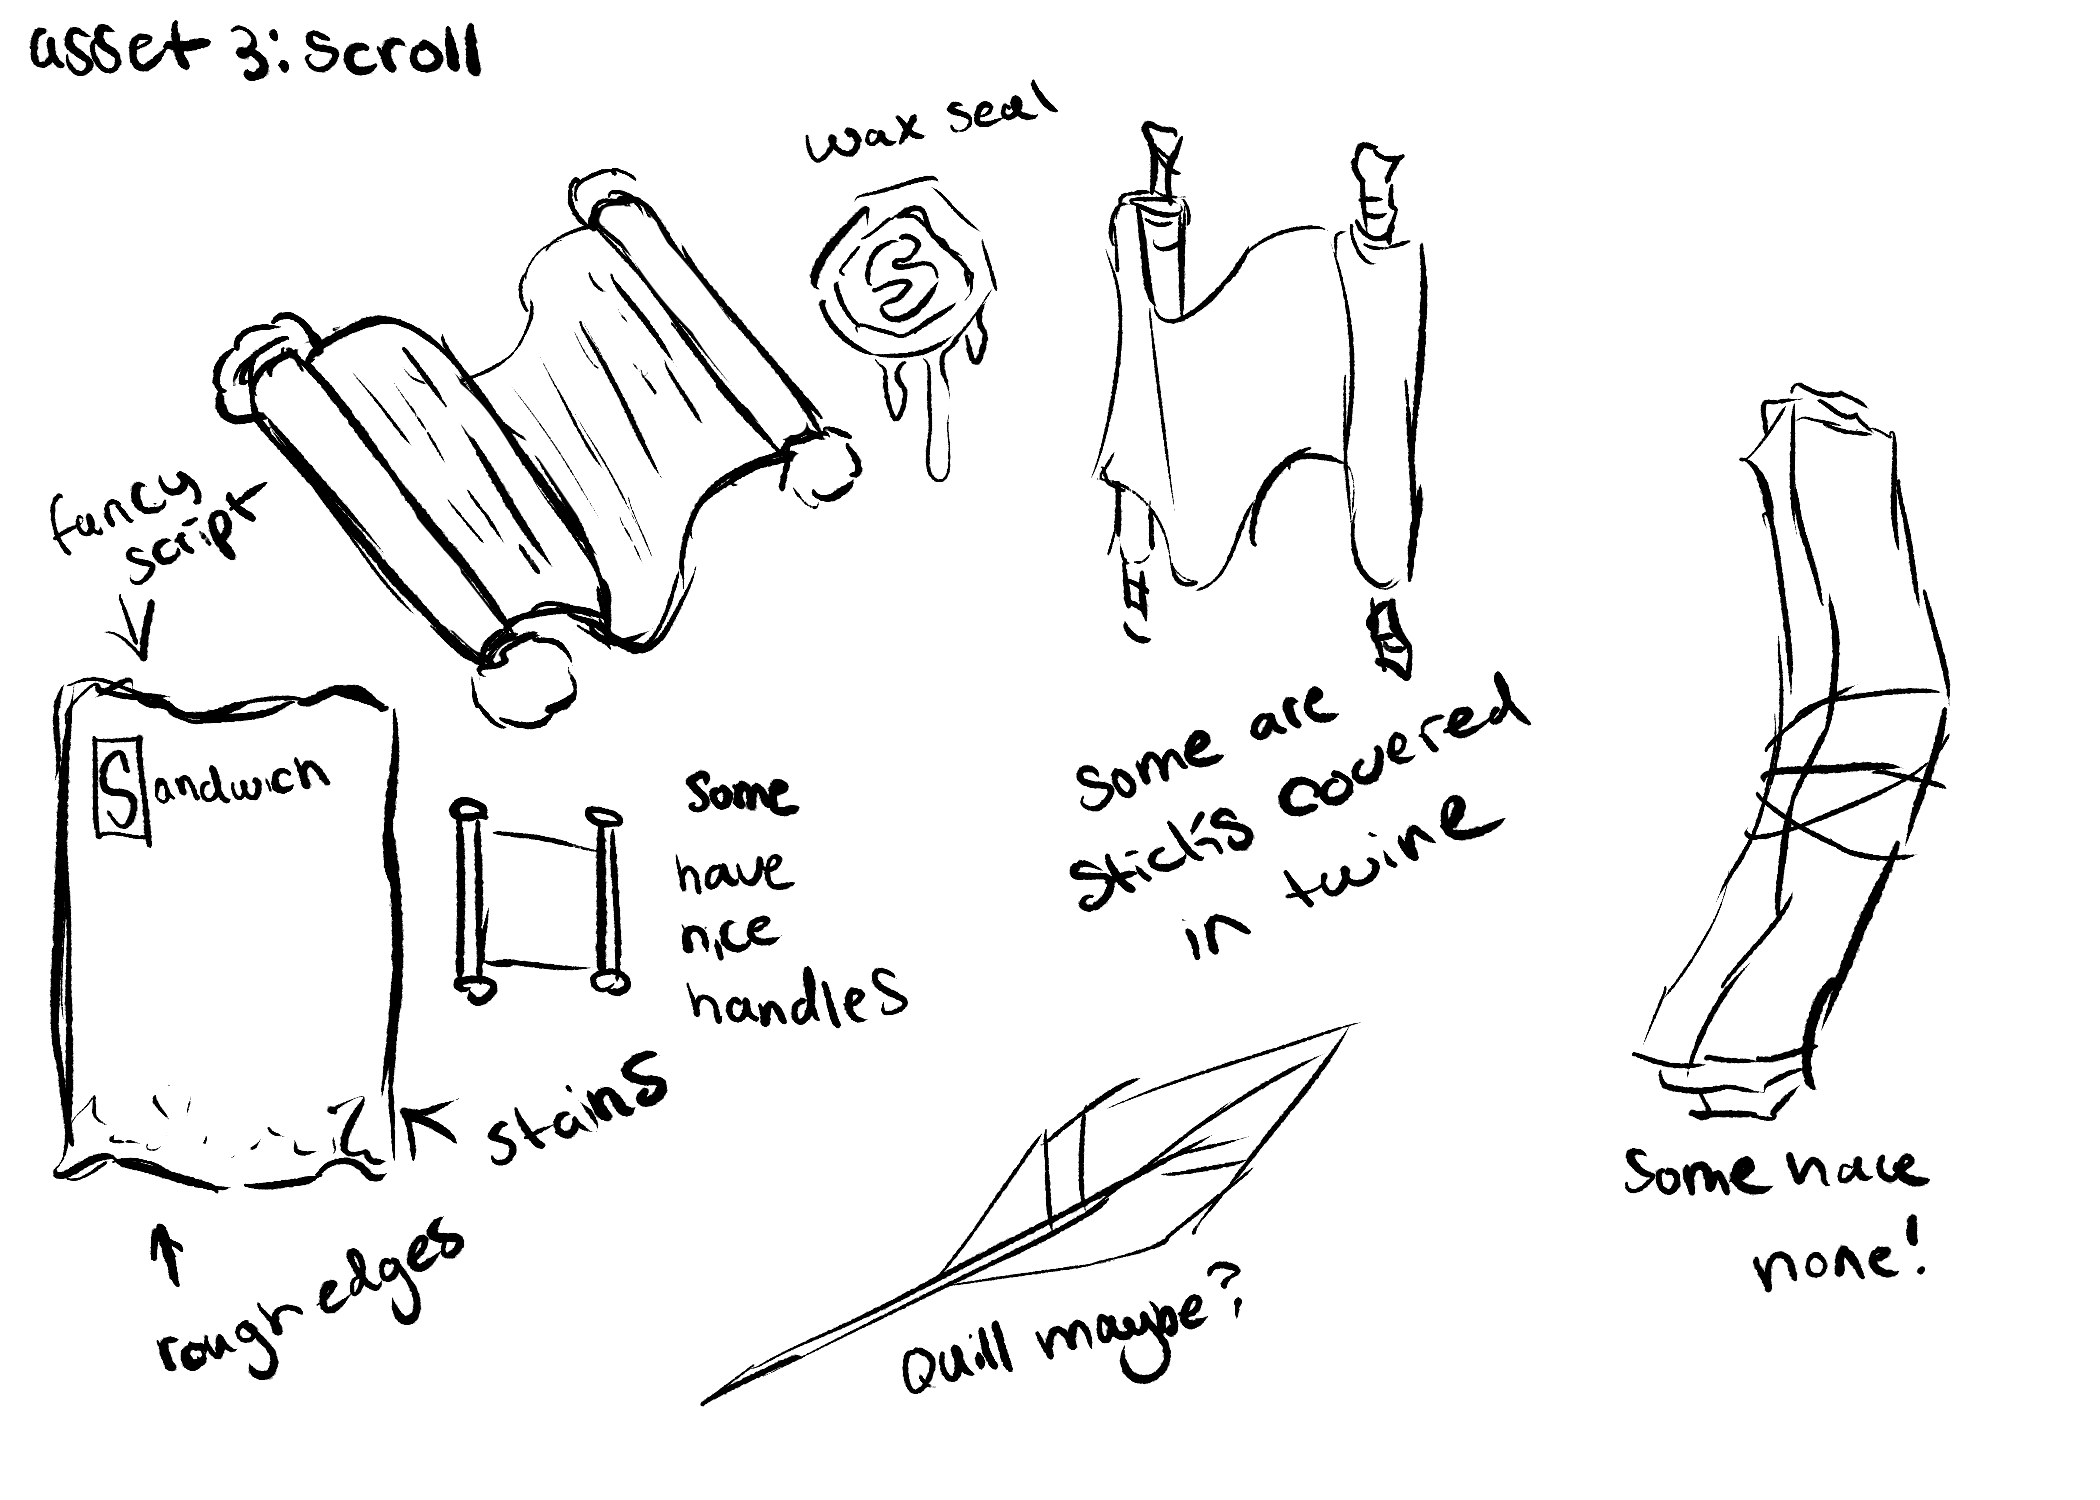
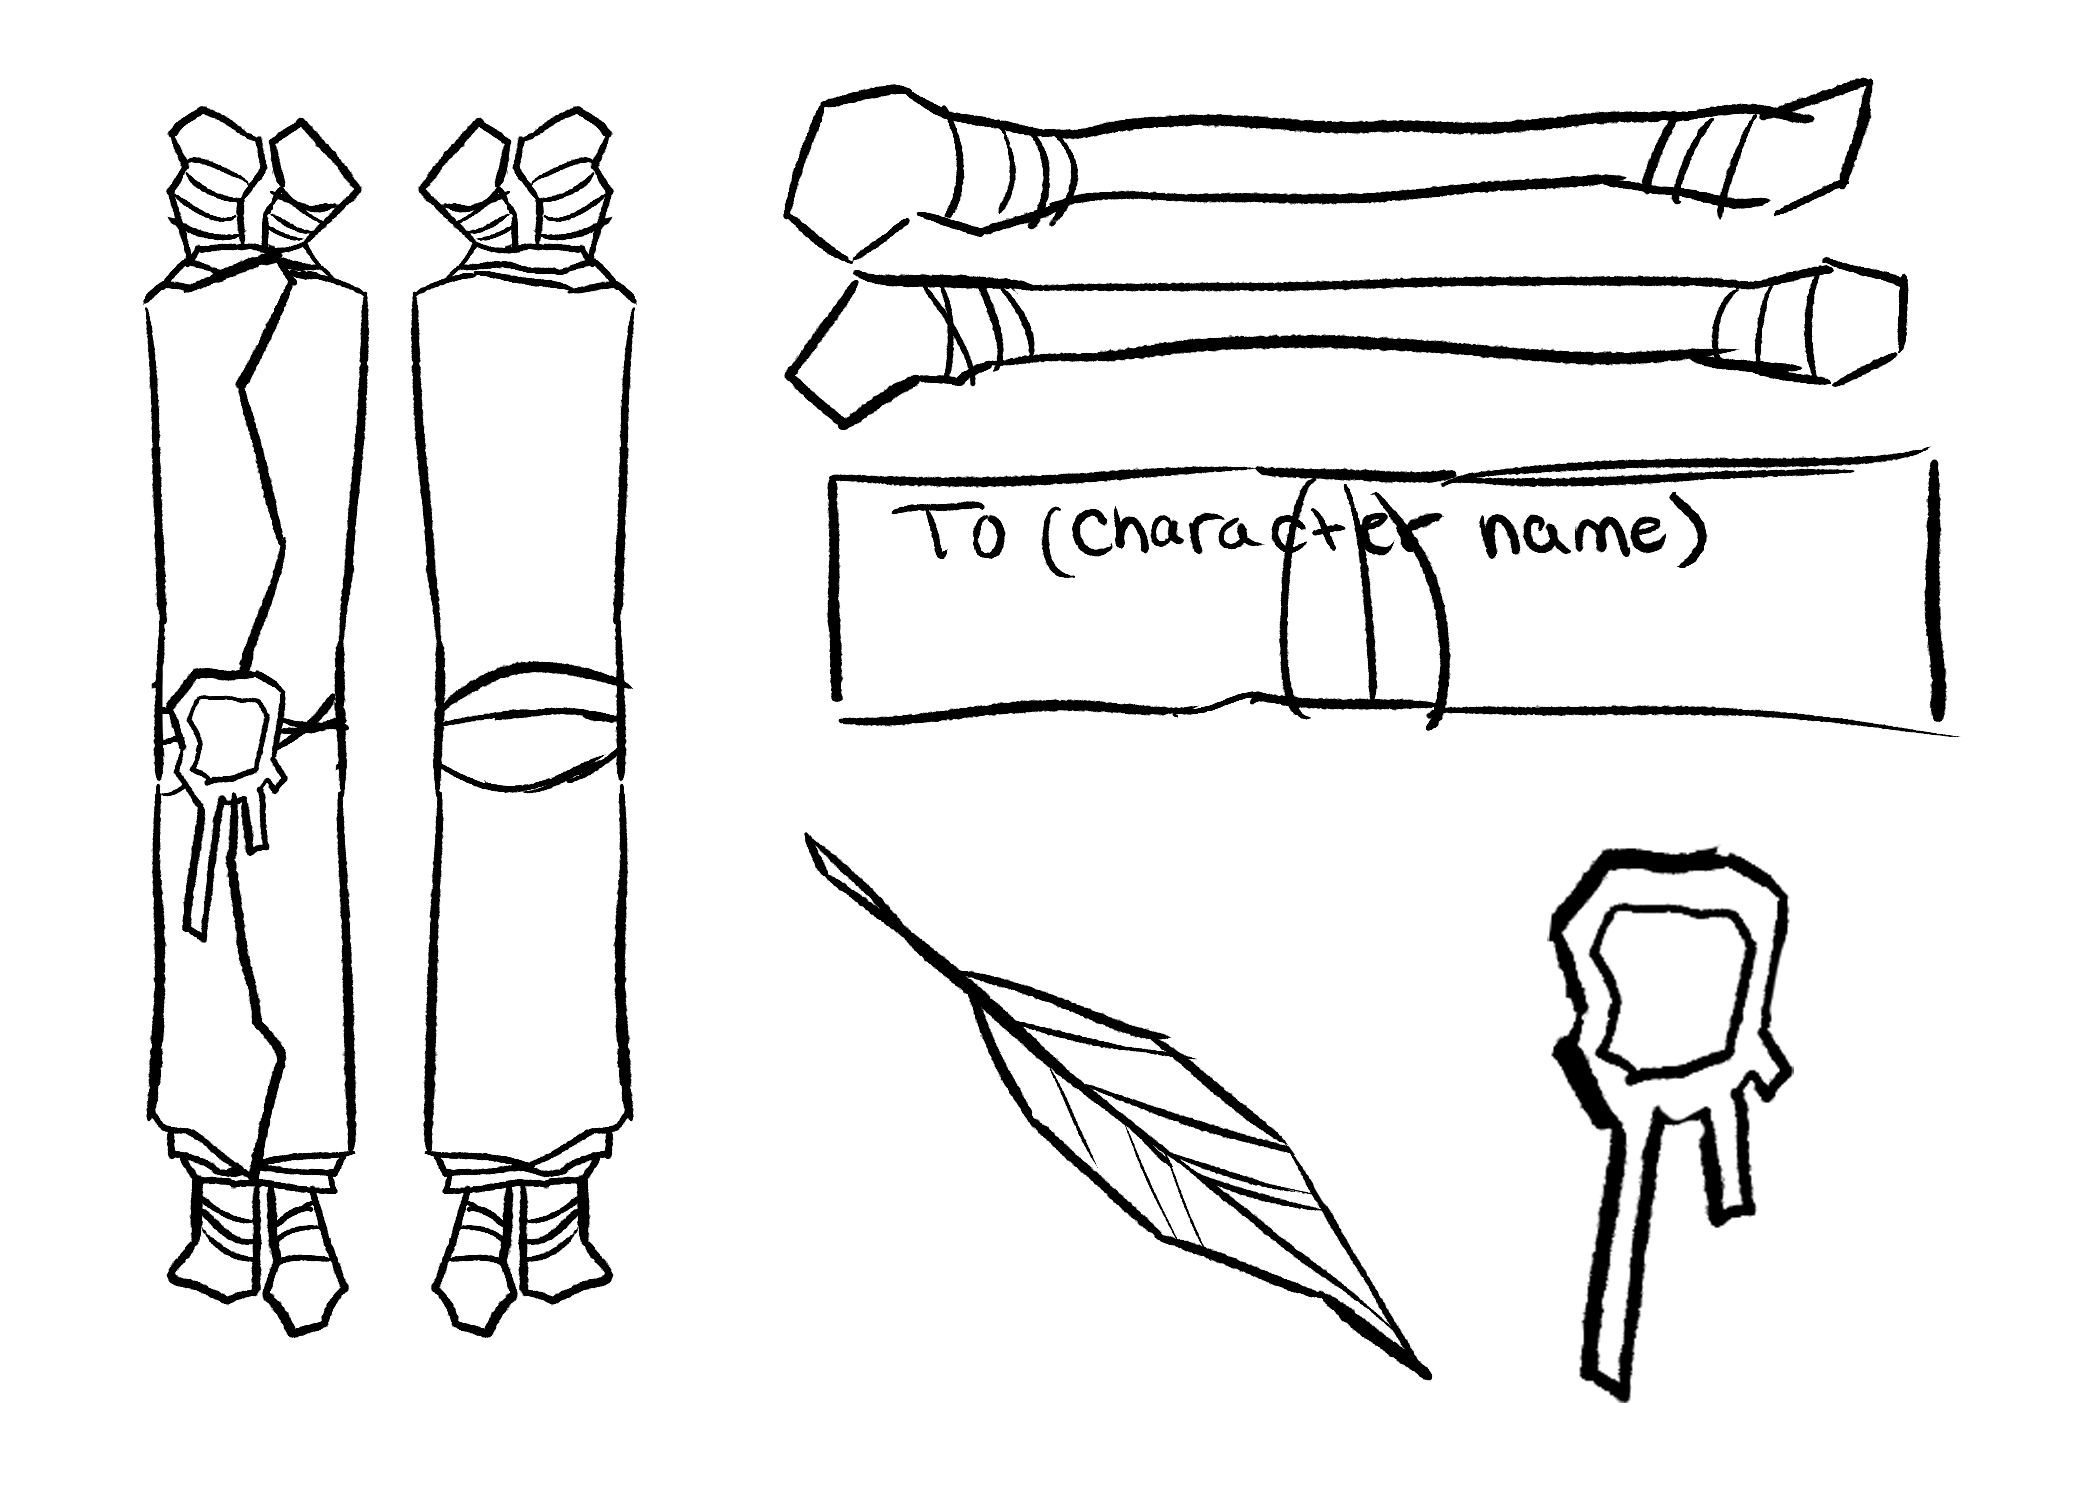
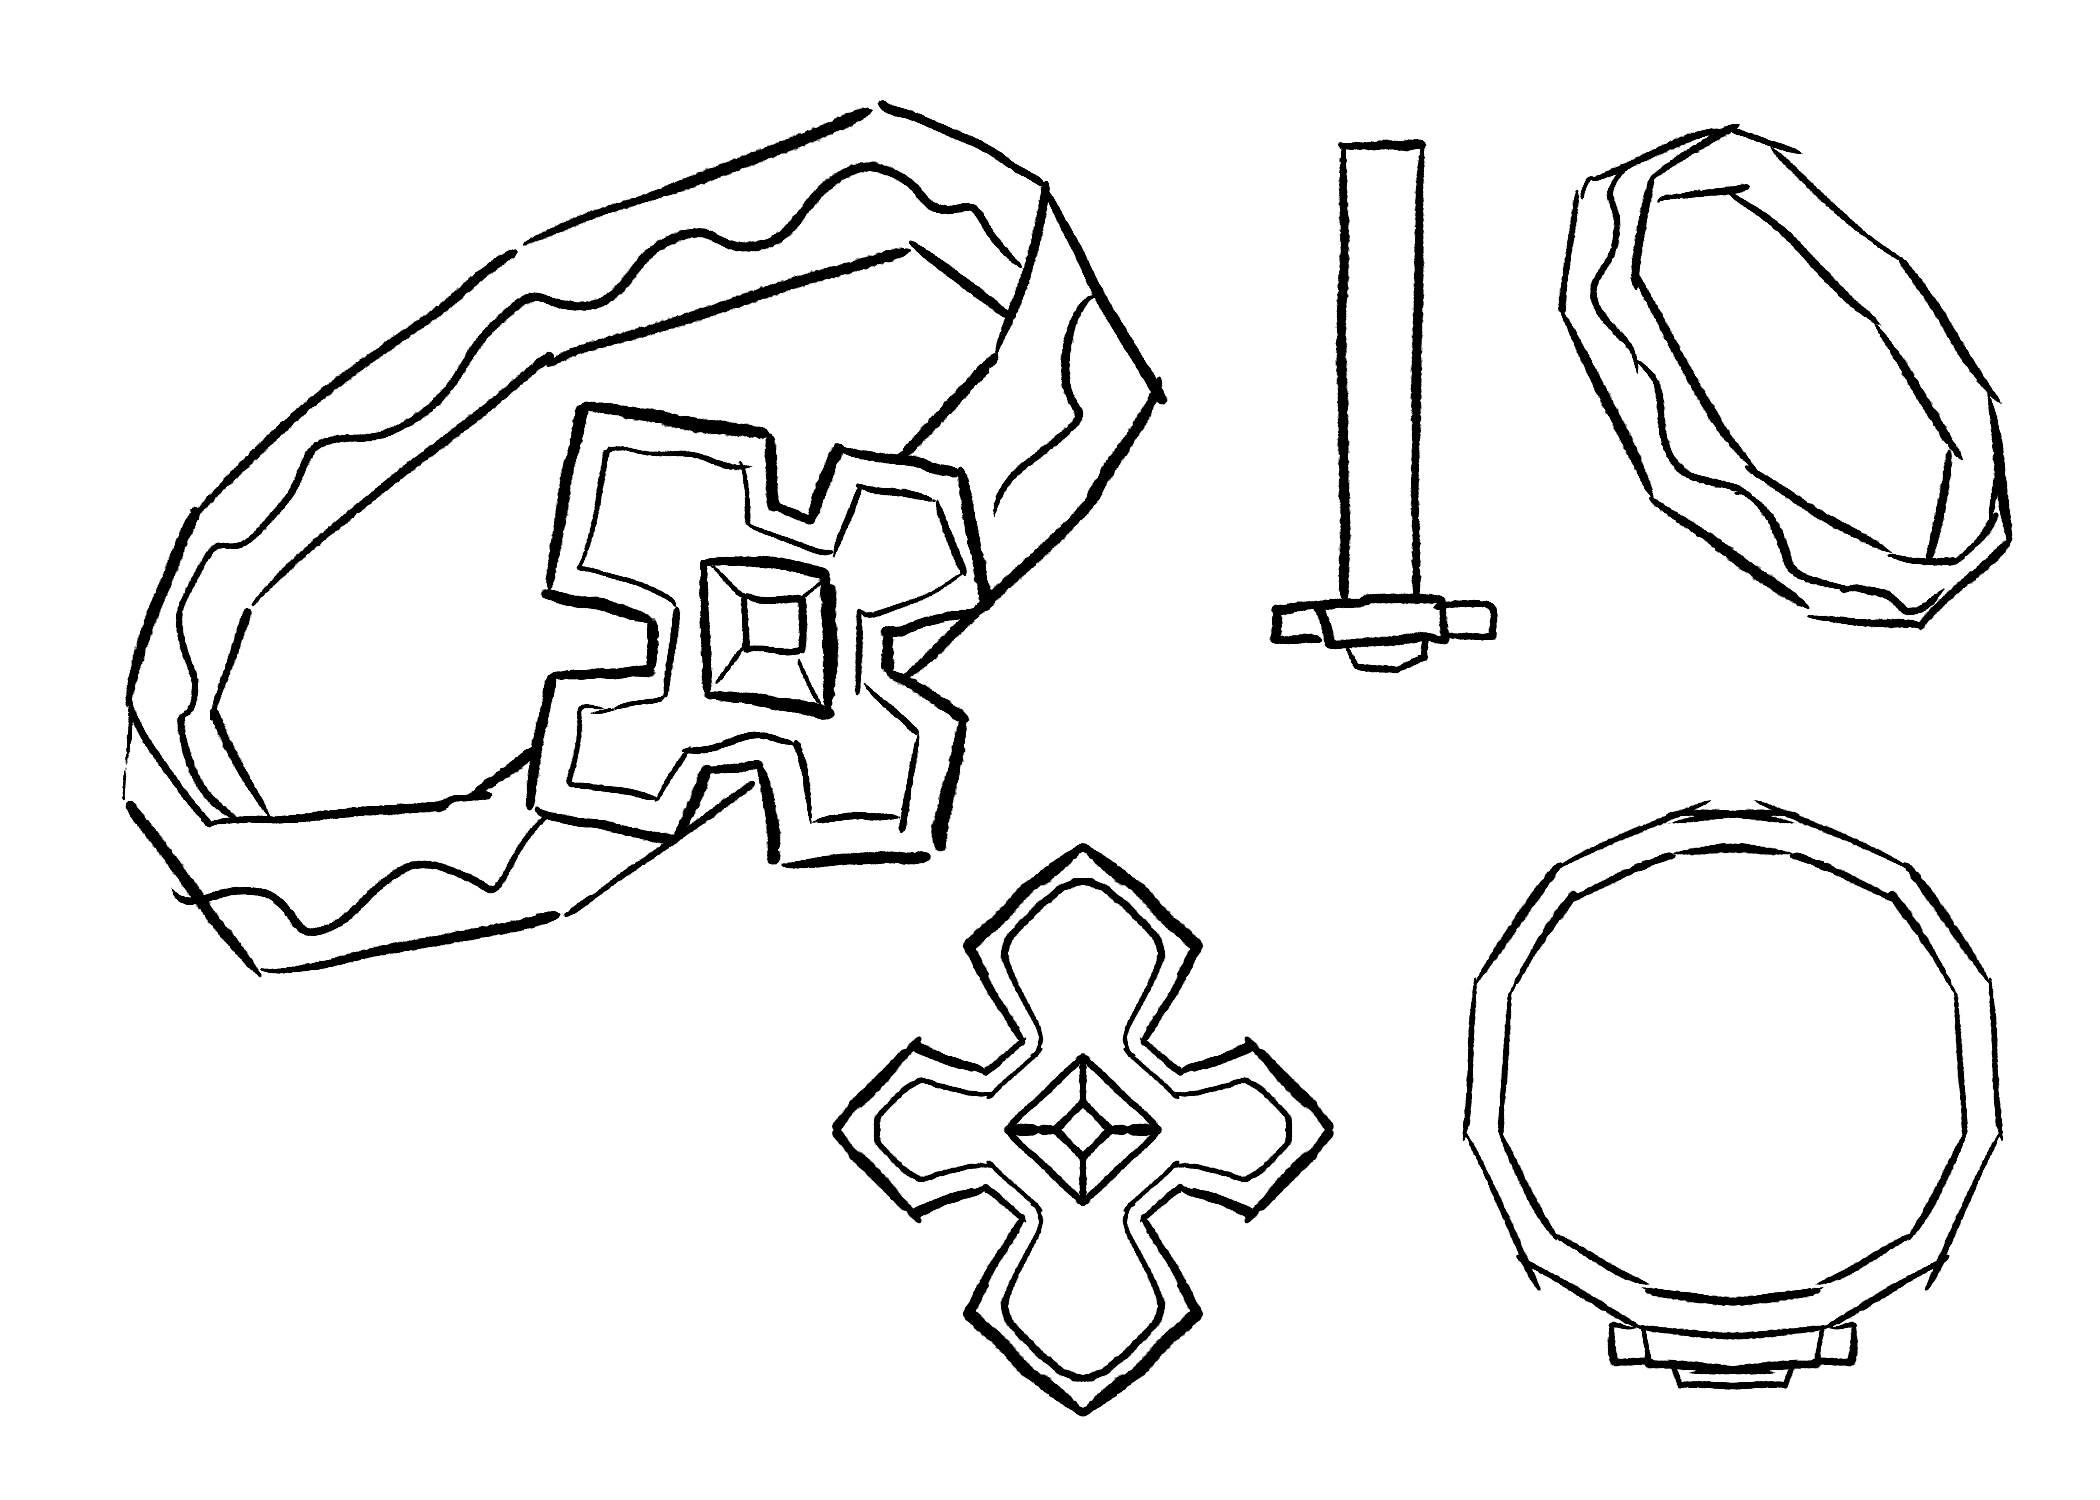
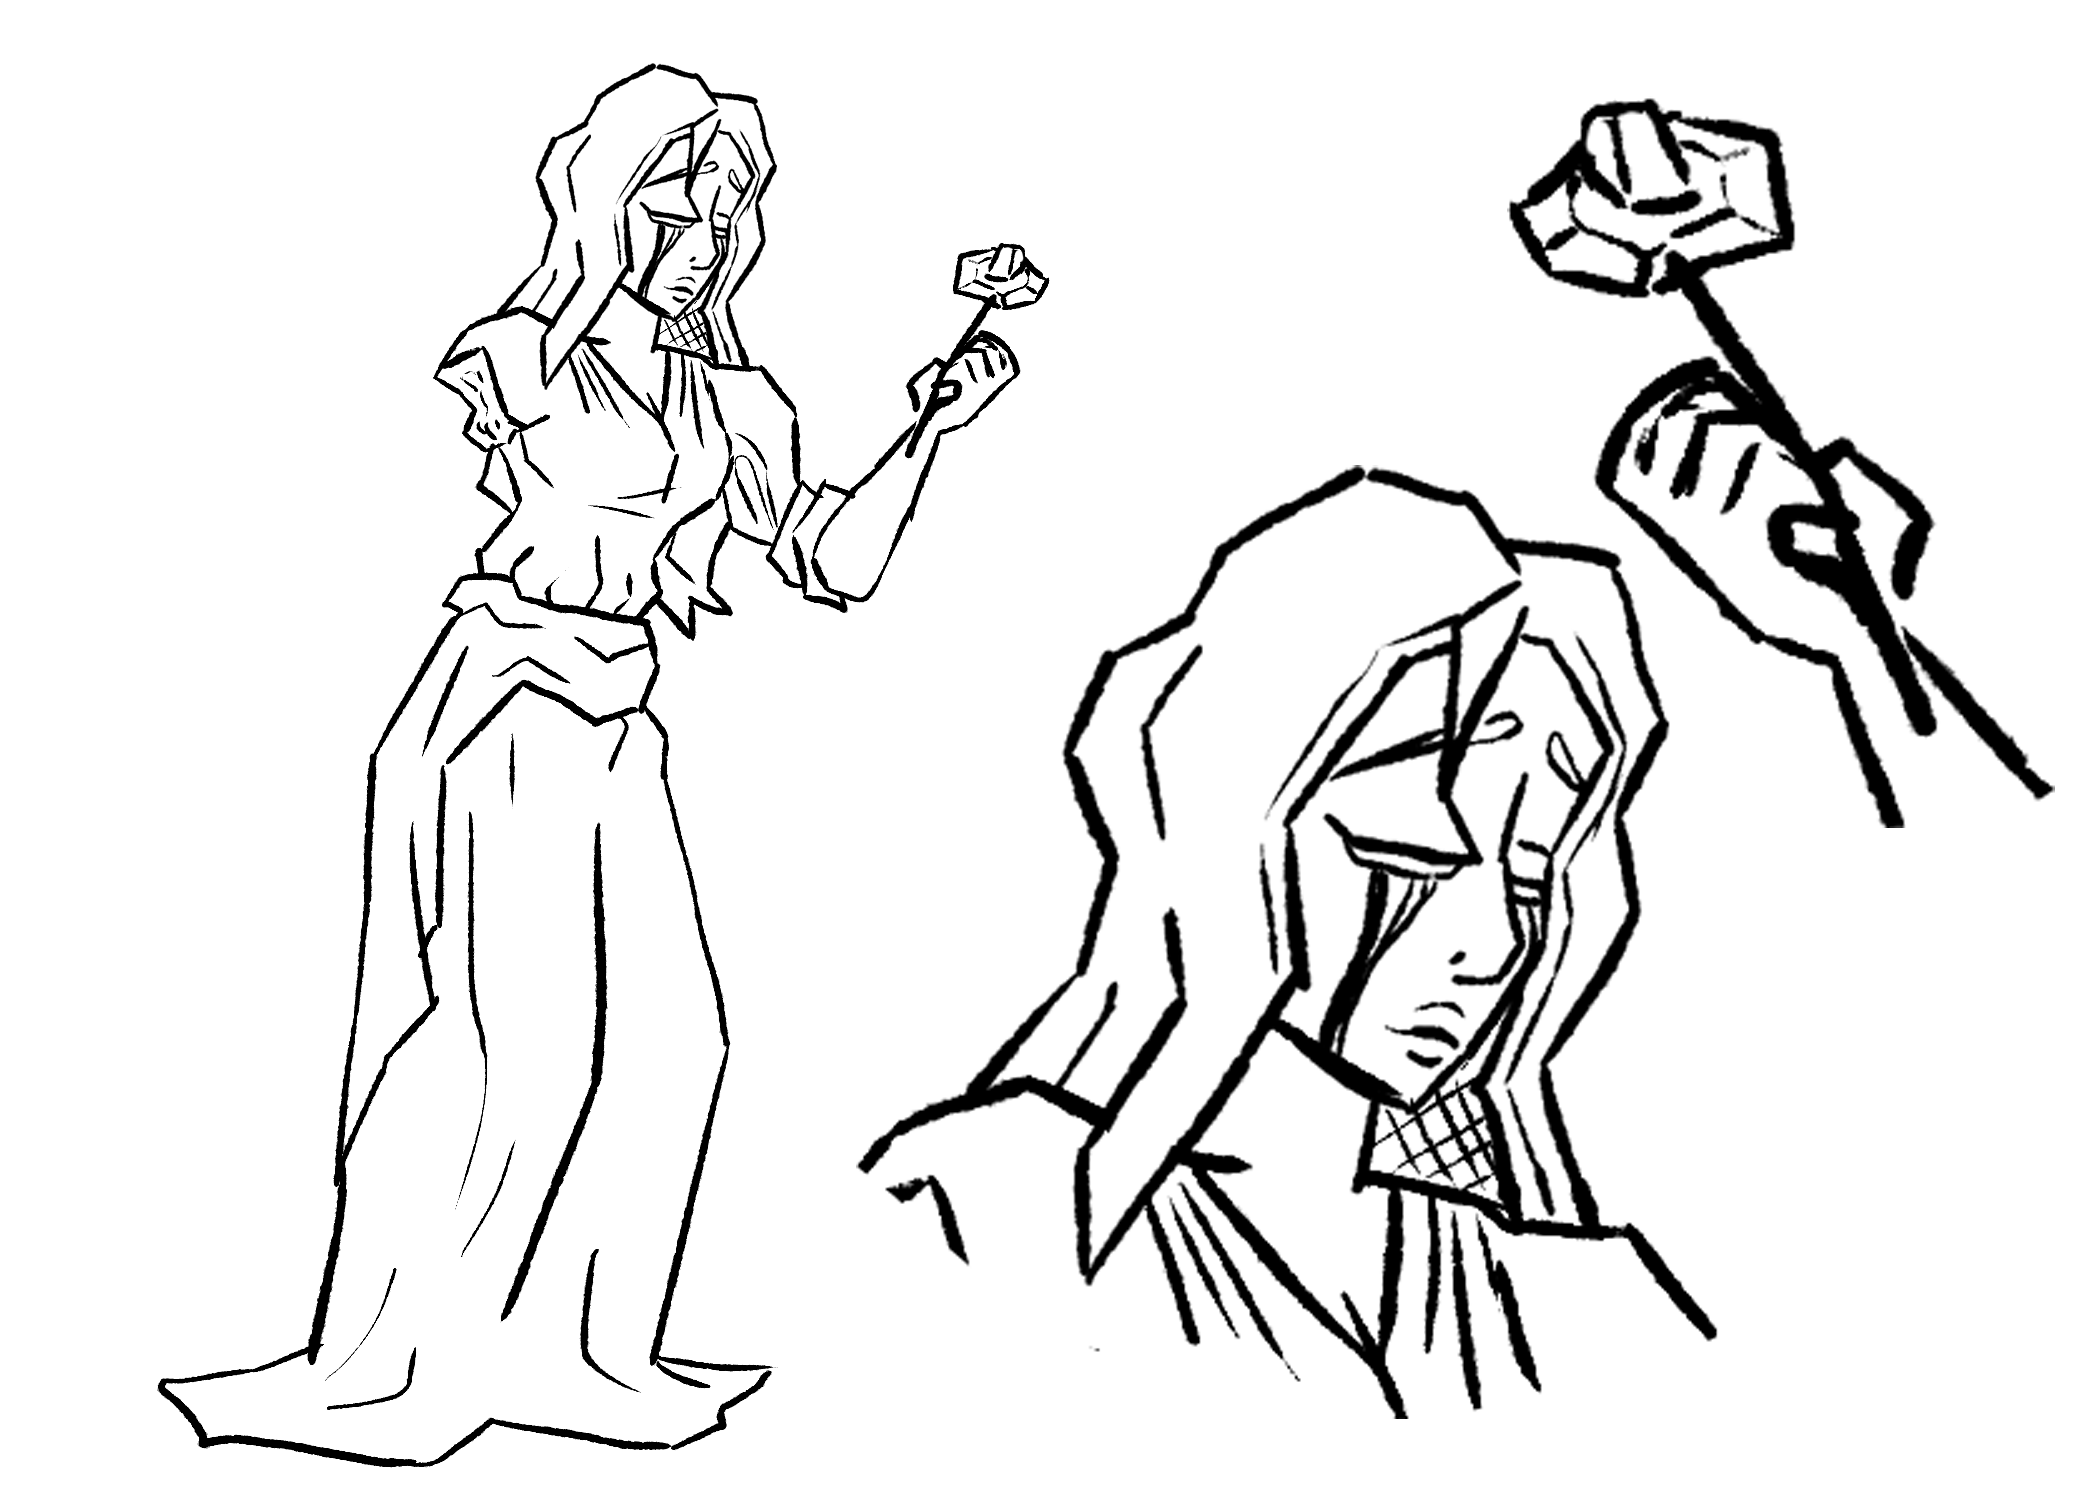
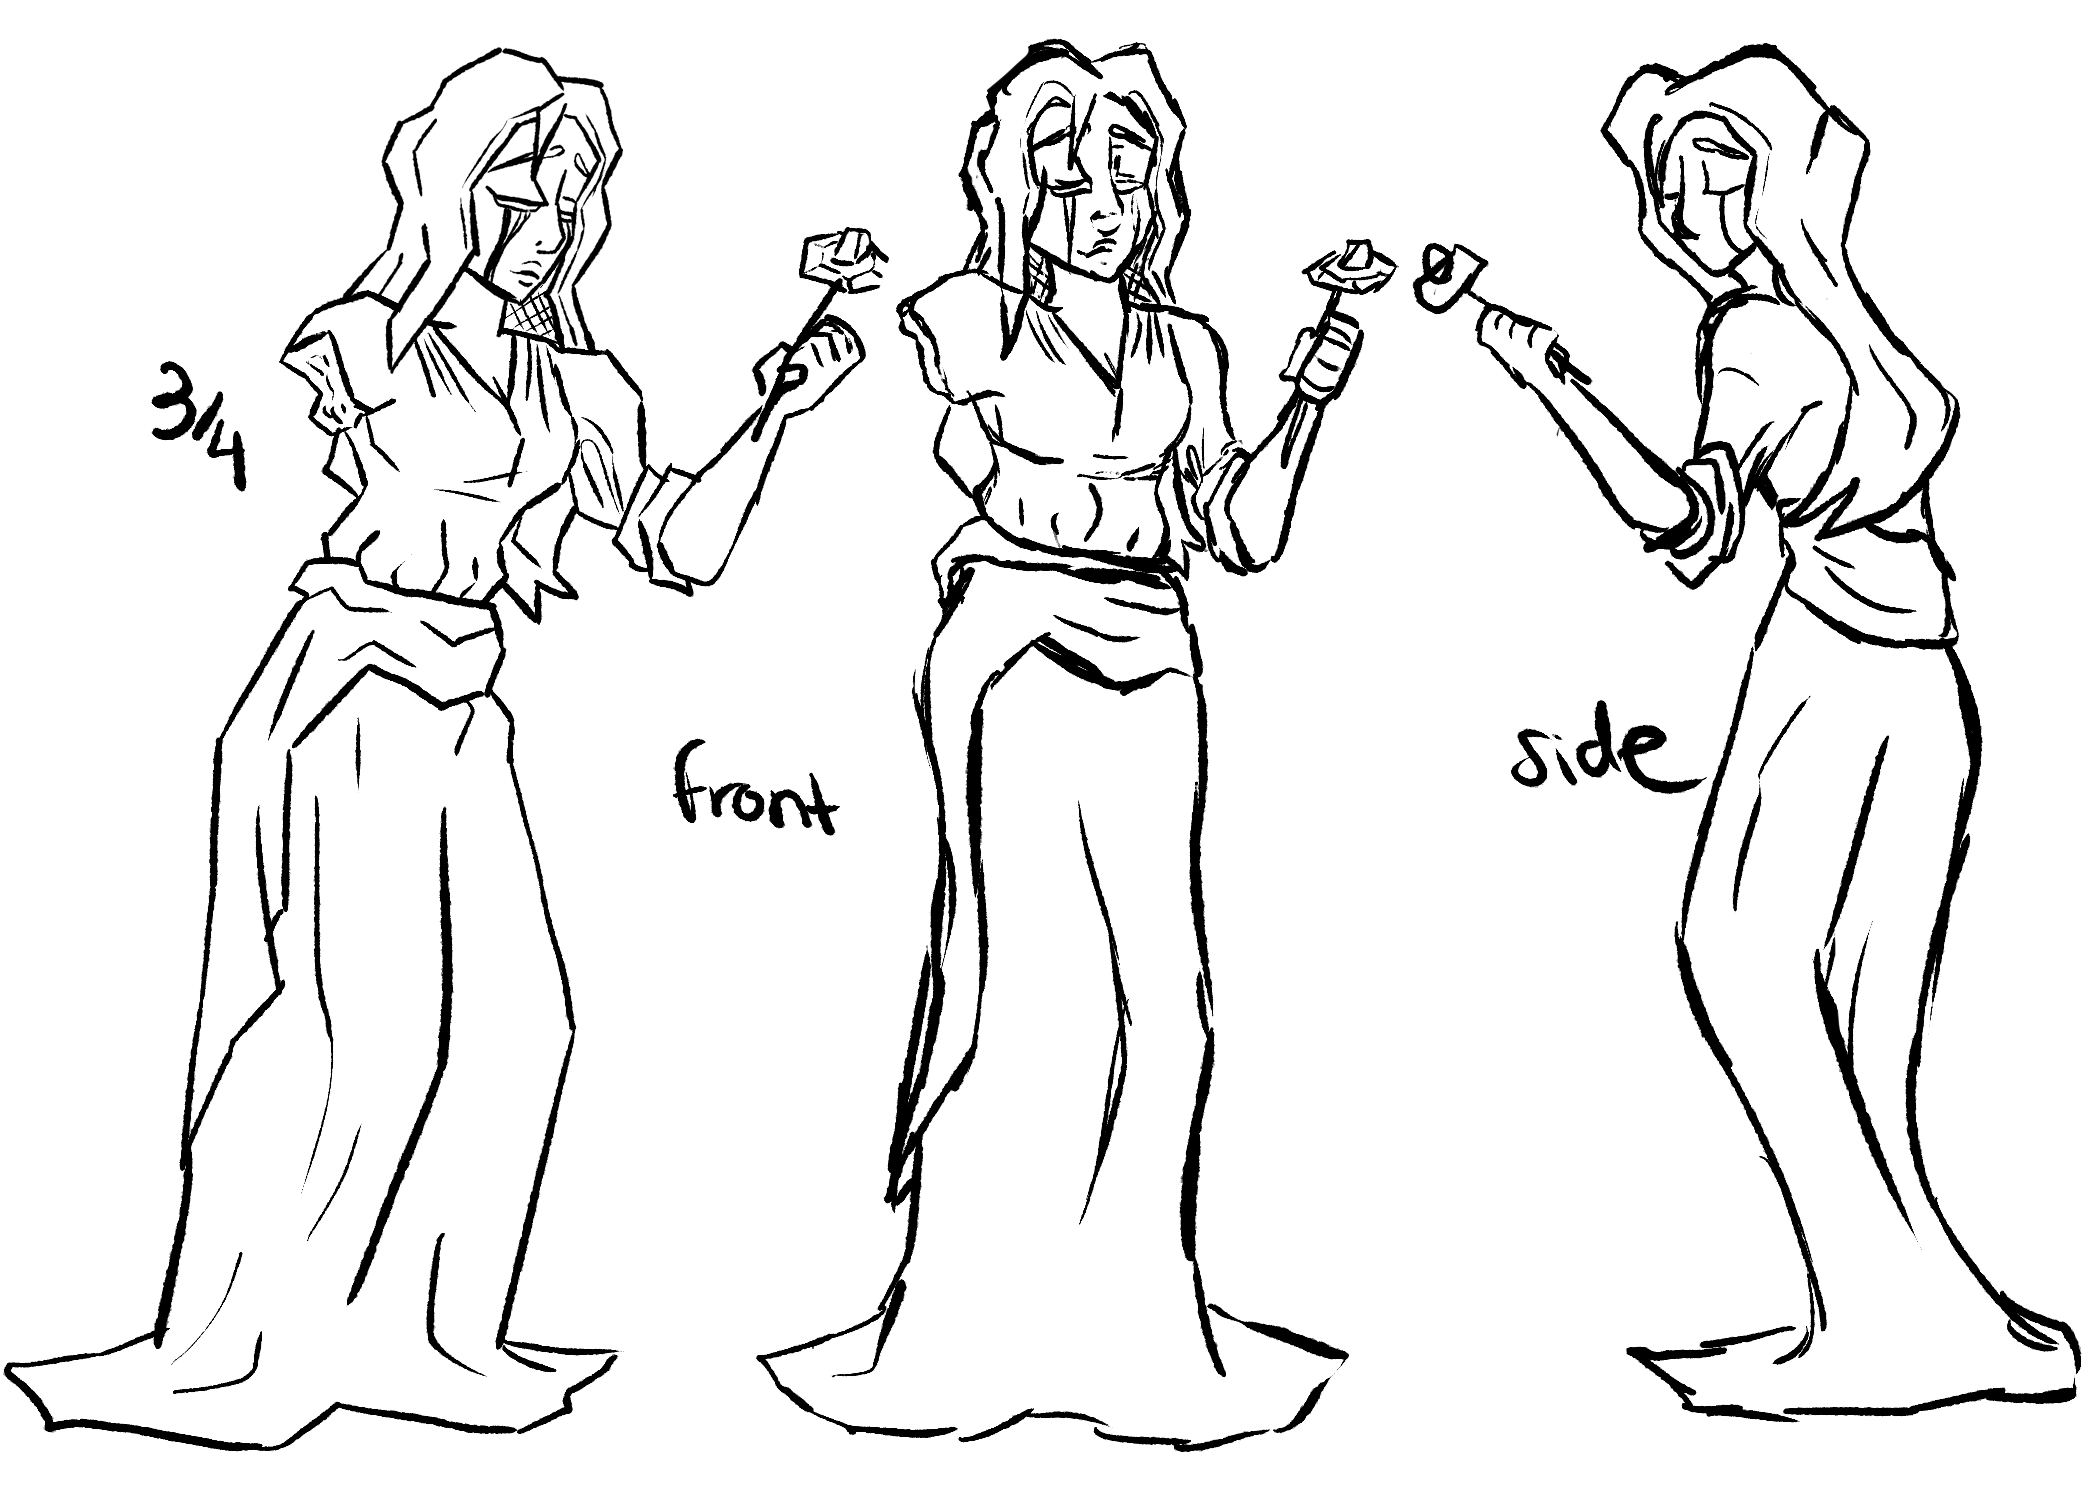
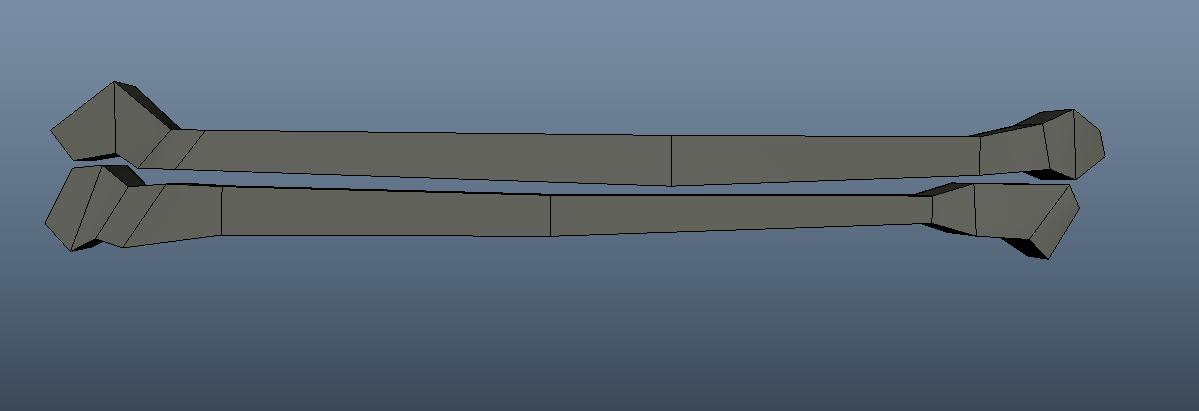
After sketching and looking at ideas on Pinterest, I decided on the designs for the models. I wanted to make a ring, rolled up scroll with two bones for the sticks, and a statue holding a flower that looked like it was crying.
Once I had properly sketched out the designs from all angles, I started to model. The goal was to make the models have a low-ploy style, so I was confident that modeling wouldn’t take that long. That was true for the ring and the scroll, but the statue took much longer. Even in a low-detail style, the statue was a complex figure.
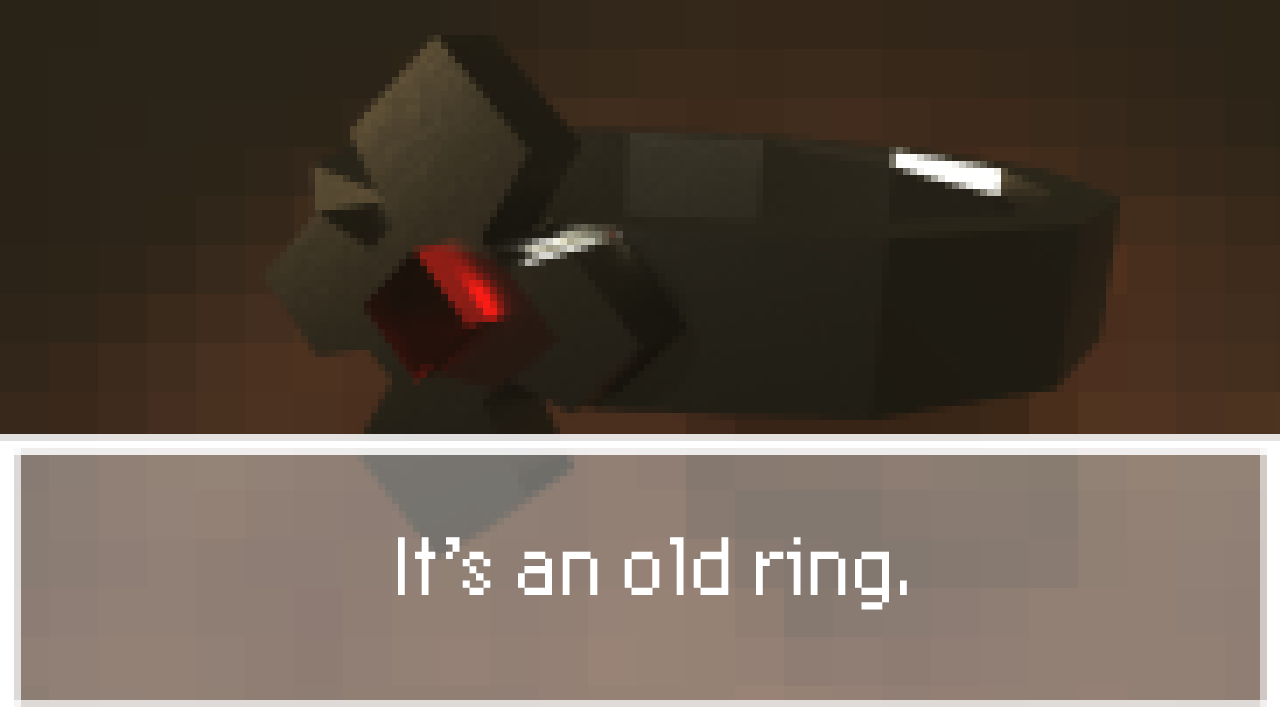
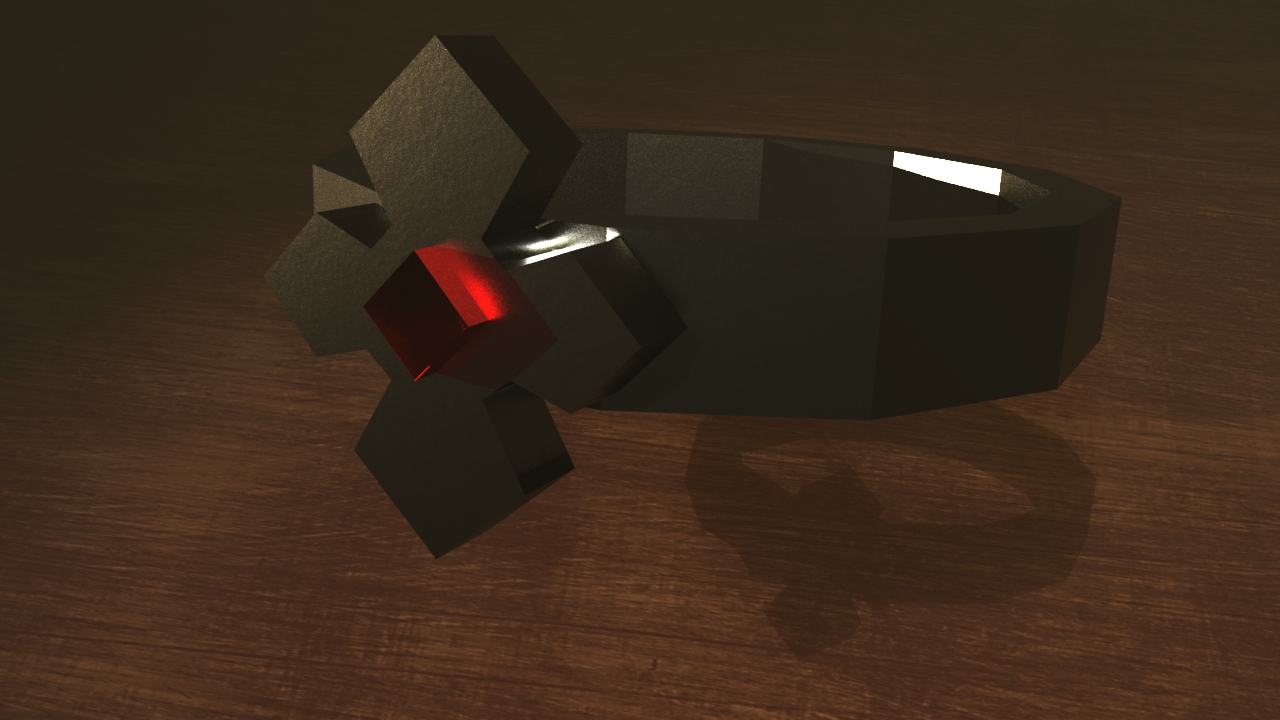
The body of the ring was made with a pipe shape, and the cross was a cube I added divisions and pulled and pushed vertices and edges until it resembled the final product. The gem was pretty simple; it was a cube I extruded a face on to give an extended cut like a real gem. The low-poly style I was committed to meant I had to be very conservative with the detail I used, so the edges are sharp and the face count is very low.
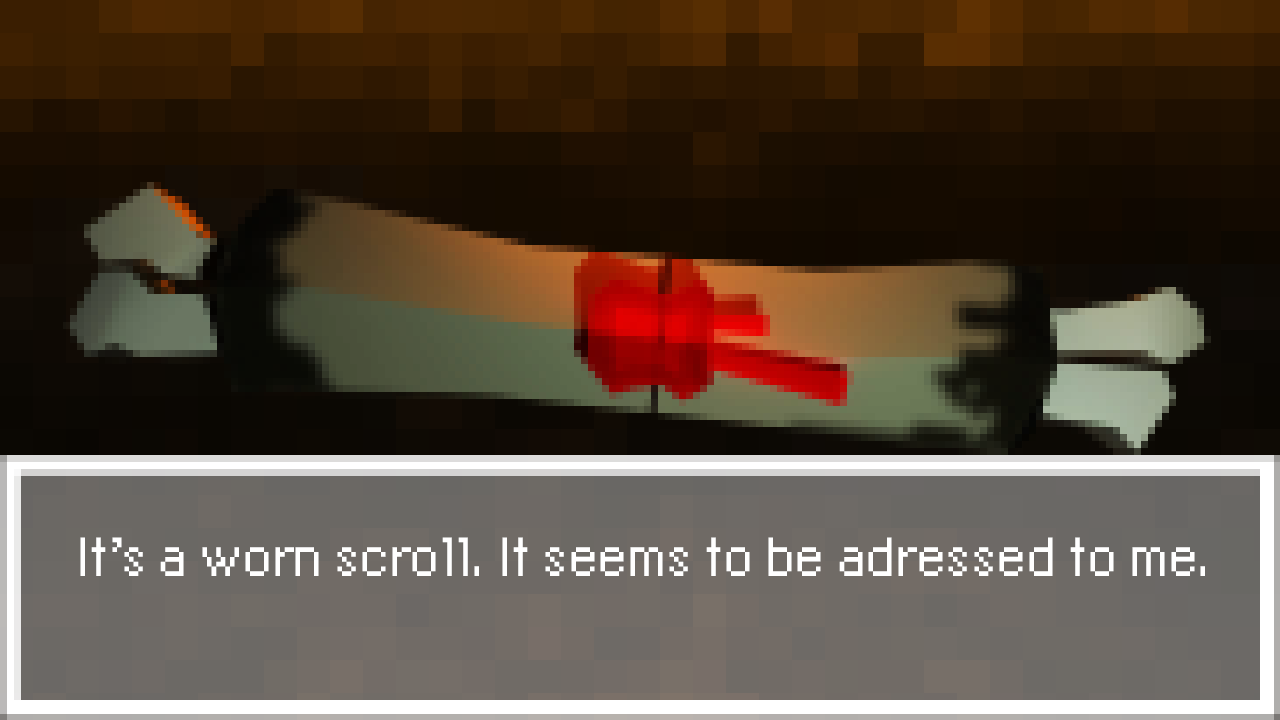
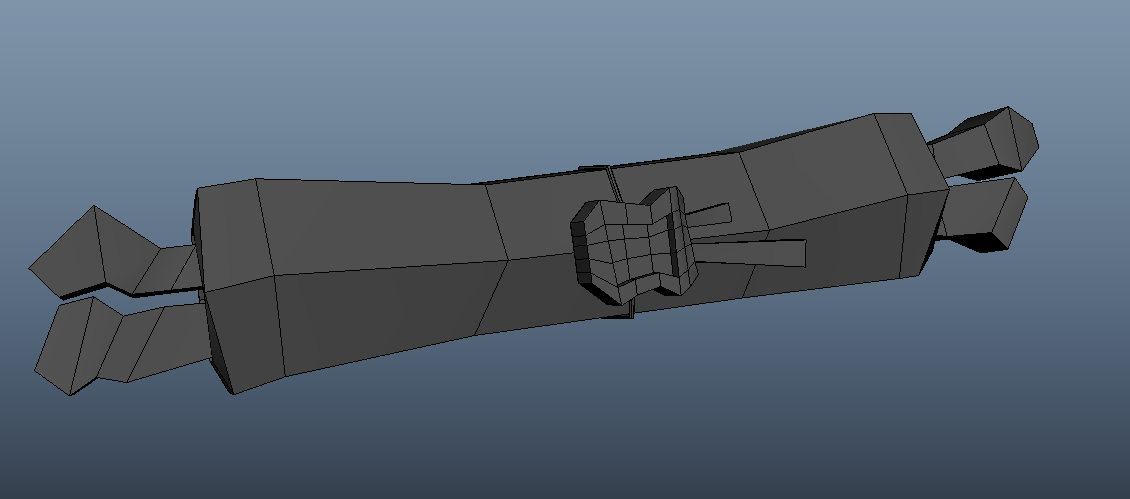
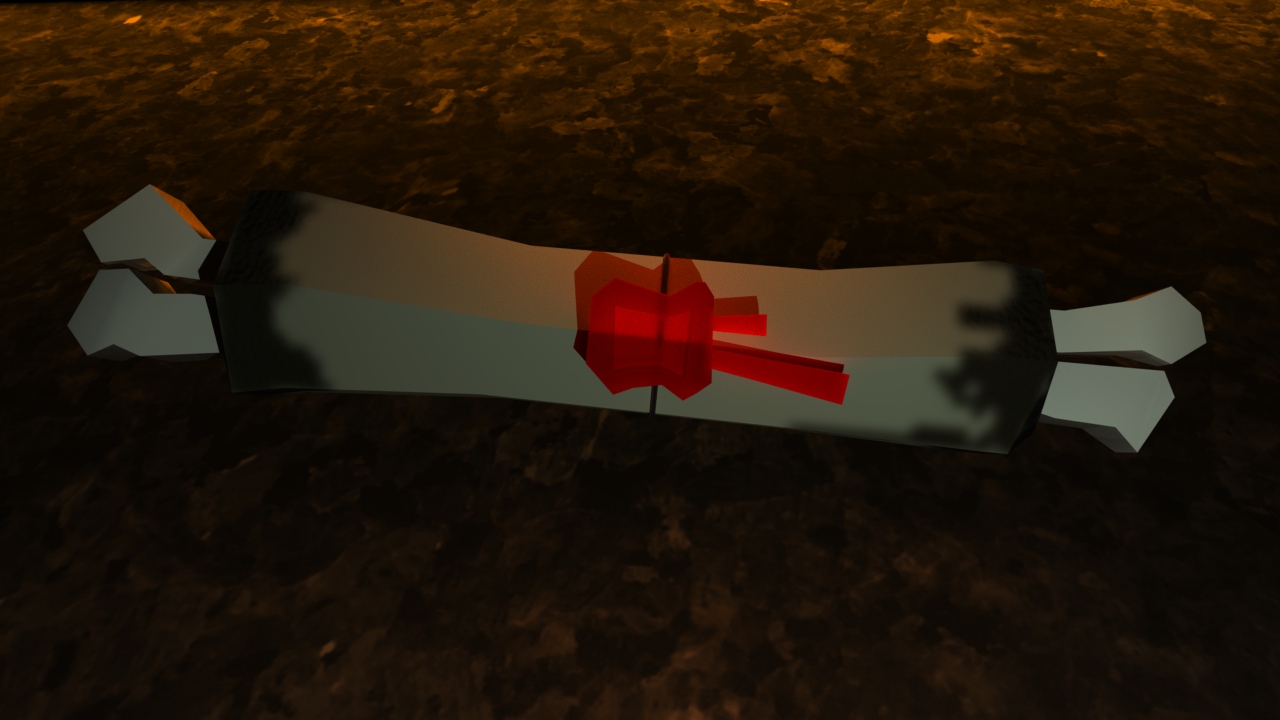
Next, I modeled the scroll. It was also made using a pipe shape, this time stretched to go around the two bones I modeled using cubes I stretched and distorted to match the reference sketch. The wax seal was made using a cube as well; I used extrusions to make the two drippings and make the center lower than the rest. It has more polygons than I’d like, but they were necessary to make it the right shape. I made sure that the bones would fit perfectly inside the scroll without any clipping. The little string was made by drawing a NURBs line, and using a technique called NURBs sweep to convert it to polygons. Otherwise, it would have taken much longer.
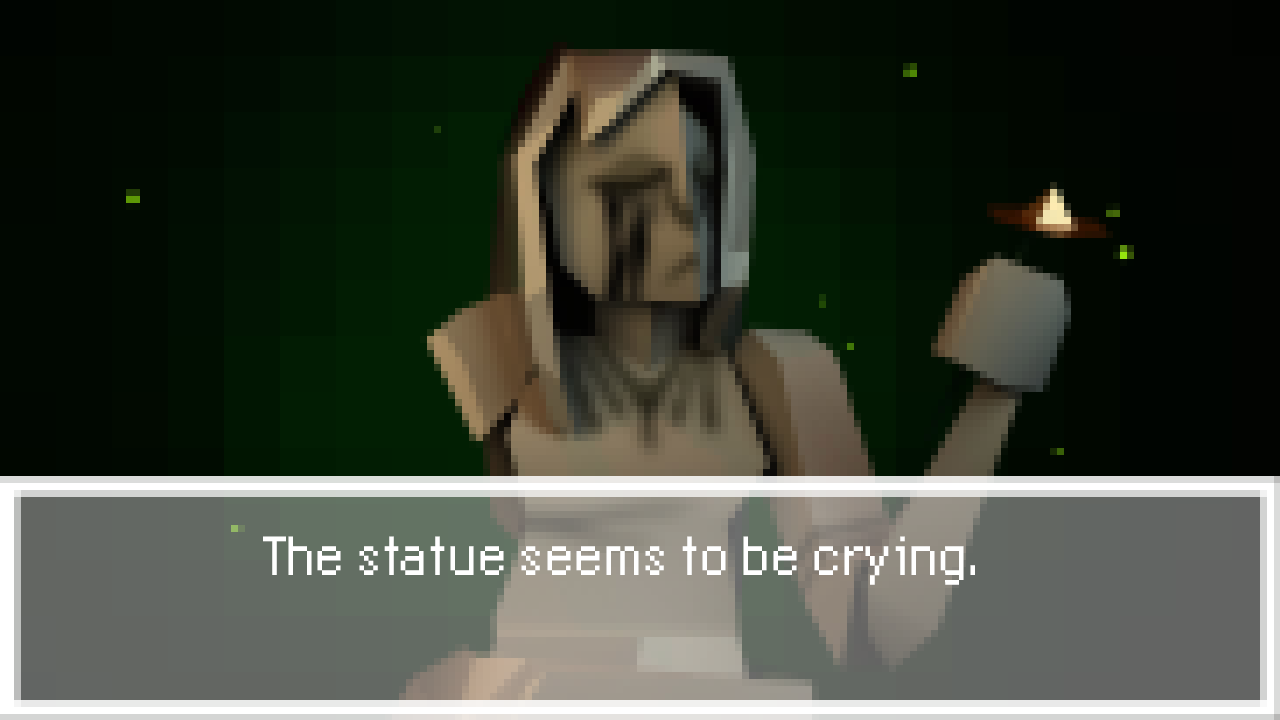
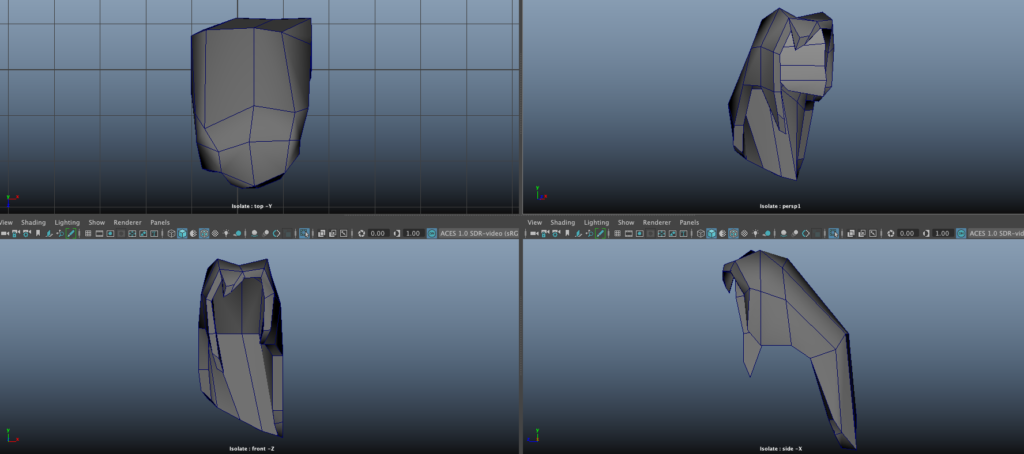
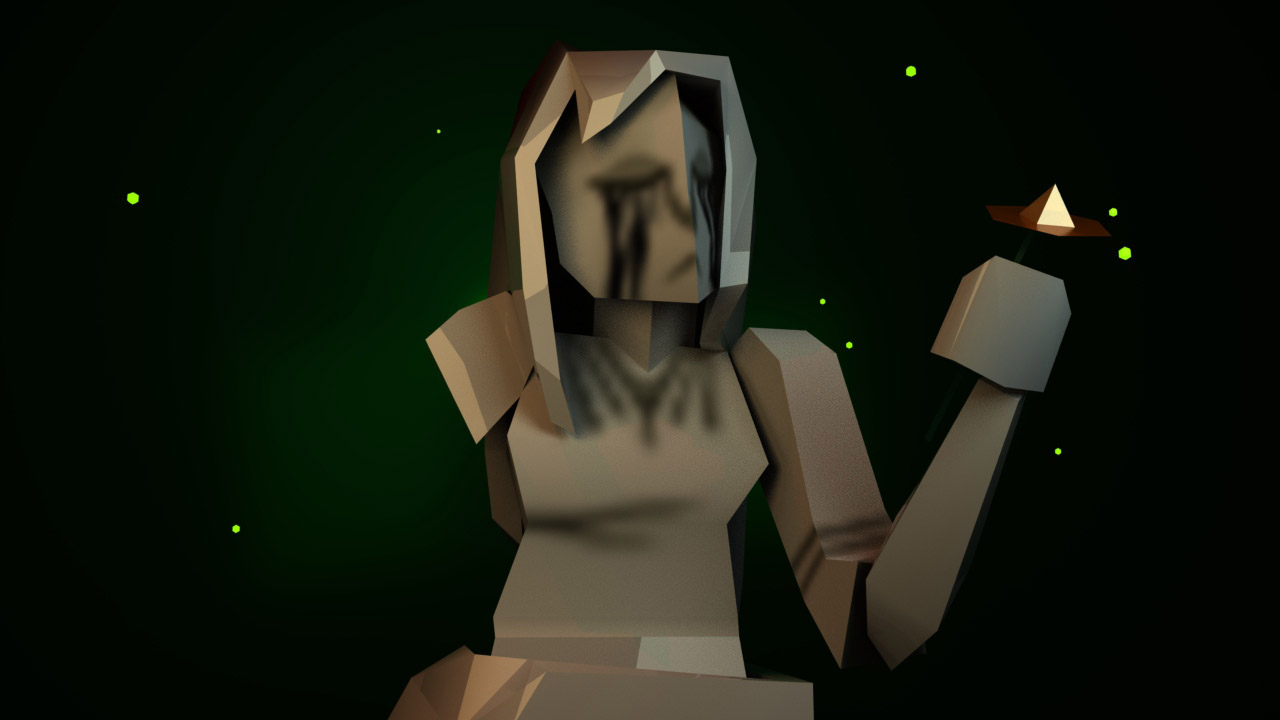
This image of the statue was taken halfway through me modeling it. The hands and arm were adjusted a bit, and I had yet to add a sash and the hair. The hair was a unique challenge to model. For the main model, it was mostly comprised of cubes that I divided up and adjusted until it looked like the concept art from the front, then I’d change my view to the side and work on it from that angle. Once both sides seemed close, I’d go back and change things until it looked good from all angles. Each individual part of the model was a separate cube or pyramid I moved to be close together to make up the full body. Modeling each part one at a time made the task easier.
For the hair, I started with a cube, and added divisions until I could distort it into a shape that could go around the head. I then had to pull and adjust the edges until it resembled the concept art’s hair. I had to sacrifice some detail, as the hair was already pretty hard to model without it.
The next step was texturing the models. Because I wanted pixel-art for the textures, my options were limited as to what I could do. I eventually figured out that if I made the textures on Photoshop, I could export the file in a really small size to get the style I wanted. Unfortunately, I figured that out when I was texturing the final model. The ring had no textures that weren’t made in Maya; I just played around with metal preset textures until I got something that looked good. The scroll required some texturing on the edges to make it seem worn, so I used the built-in feature of 3D paint to make a mask for a burnt texture, and applied the texture using a mix shader trick. I made the drawn textures for the statue in Photoshop.
Next, I started to set up the scenes to make the final renders. I had no real strategy; I just played with lighting and camera angles until it looked pretty good. For the backgrounds, I made planes and played with textures until it looked right. The background textures of the ring and scroll were from previous projects, and I thought they fit in perfectly, which meant I didn’t have to hunt for or create my own textures.
These final images used detailed lighting and texturing, as well as being pretty high definition. However, this was not fitting with my theme of a low-poly PS1 style game. To make the images reflect my goal, I imported the images into Photoshop, isolated the subjects, edited them out of the backgrounds, and made the backgrounds very pixelated while making the subject less so. I also brightened the scroll, because it blended into the background more than I had realized. I then added text boxes like the renders were in a game, adding to the video game feel.
Over all, the project was quite fun to do, even if there were some issues and challenges along the way. The low-poly style I chose made it so I didn’t have to limit myself to very simple objects that could be modeled in a short amount of time. I sacrificed detail for style and speed, which payed off. Even though I prefer 2D art and animation, 3D modeling can be fun too.